How does it work
The
reactable works like that http://mtg.upf.edu/reactable/?pic=reactivision03.png
more reacTable images at Flickr
Make your own Tangible Laptop
The concept of the
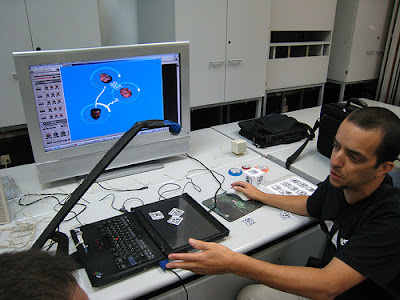
TangibLaptop is almost the same as reacTable, but have a camera above the laptop, or a laying LCD screen, and place smaller tangible objects on it. sort of a portable version of the reacTable.
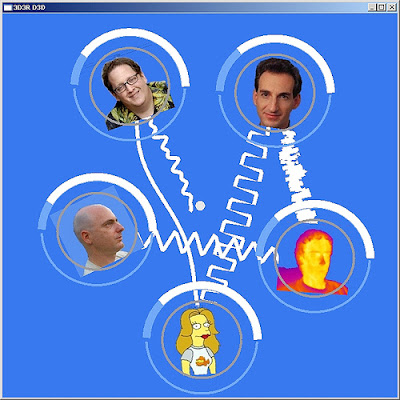
In general, there are 3 parts: reactiVision, TUIO graphic client, music client
reactiVision - Objects DetectionMounting the camera above the laptop screen, placing the objects (with the fiducial markers attached onto physical objects) which are detected by the camera and sends this information to the TUIO Graphic client.
for this part, you need:
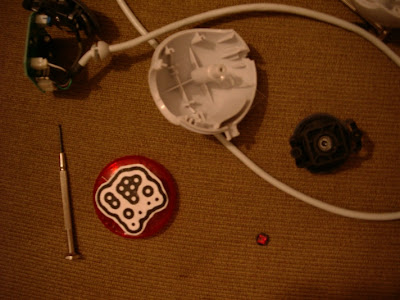
* webcam. you can convert it into an IR camera. but this is not a must.
* reacTIVision server.
TUIO Graphic client (see "reacTIVision client examples") listen on UDP port
3333 (or whatever we choose) and receive the "TUIO protocol" information which describes something about an object which is on the table (position, angle).
for this part, you need:
* TUIO client. TangibLaptop uses the DirectX TUIO client, but there are many TUIO clients at the reacTable website.
* reacTIVision emulator. very useful for simulating the Objects Detection, and testing the graphic and music parts without using the reacTivision and the camera.
The Tangiblaptop TUIO client has 2 clients: one for testing (gg_reactable_console.exe) and one for visualization (gg_reactable_viz.exe)
midi device id is 9

gg_reactable_console.exe command line is
gg_reactable_console.exe [port] [midi device number] [midi config file]
for example
gg_reactable_console.exe 3333 9 C:\tangiblaptop\svn\src\gg_reactable_viz\Debug\midi_config.xml
Music MIDI or OSC client - can be Cubase, Abelton Live, receives midi information and does something with that. change a controller value, play a sample, play a note according to position.
for this part, you need:
* MIDIOX. great toolbox for tracing MIDI. not must.
* MIDI Yoke. great virtual MIDI device. not must.
* Some MIDI software that accepts MIDI and creates the musical part.